
A dripping toilet cistern can lead to pools of water forming on your bathroom floor. Worse still, this can be a waste of water and negatively affect your water bills. So, how do you fix a leaking toilet cistern? With our guide, you’ll learn the causes of a leaking toilet cistern and how to deal with them to minimise the damage as soon as possible.
Table of contents
My toilet cistern is leaking. What can I do?
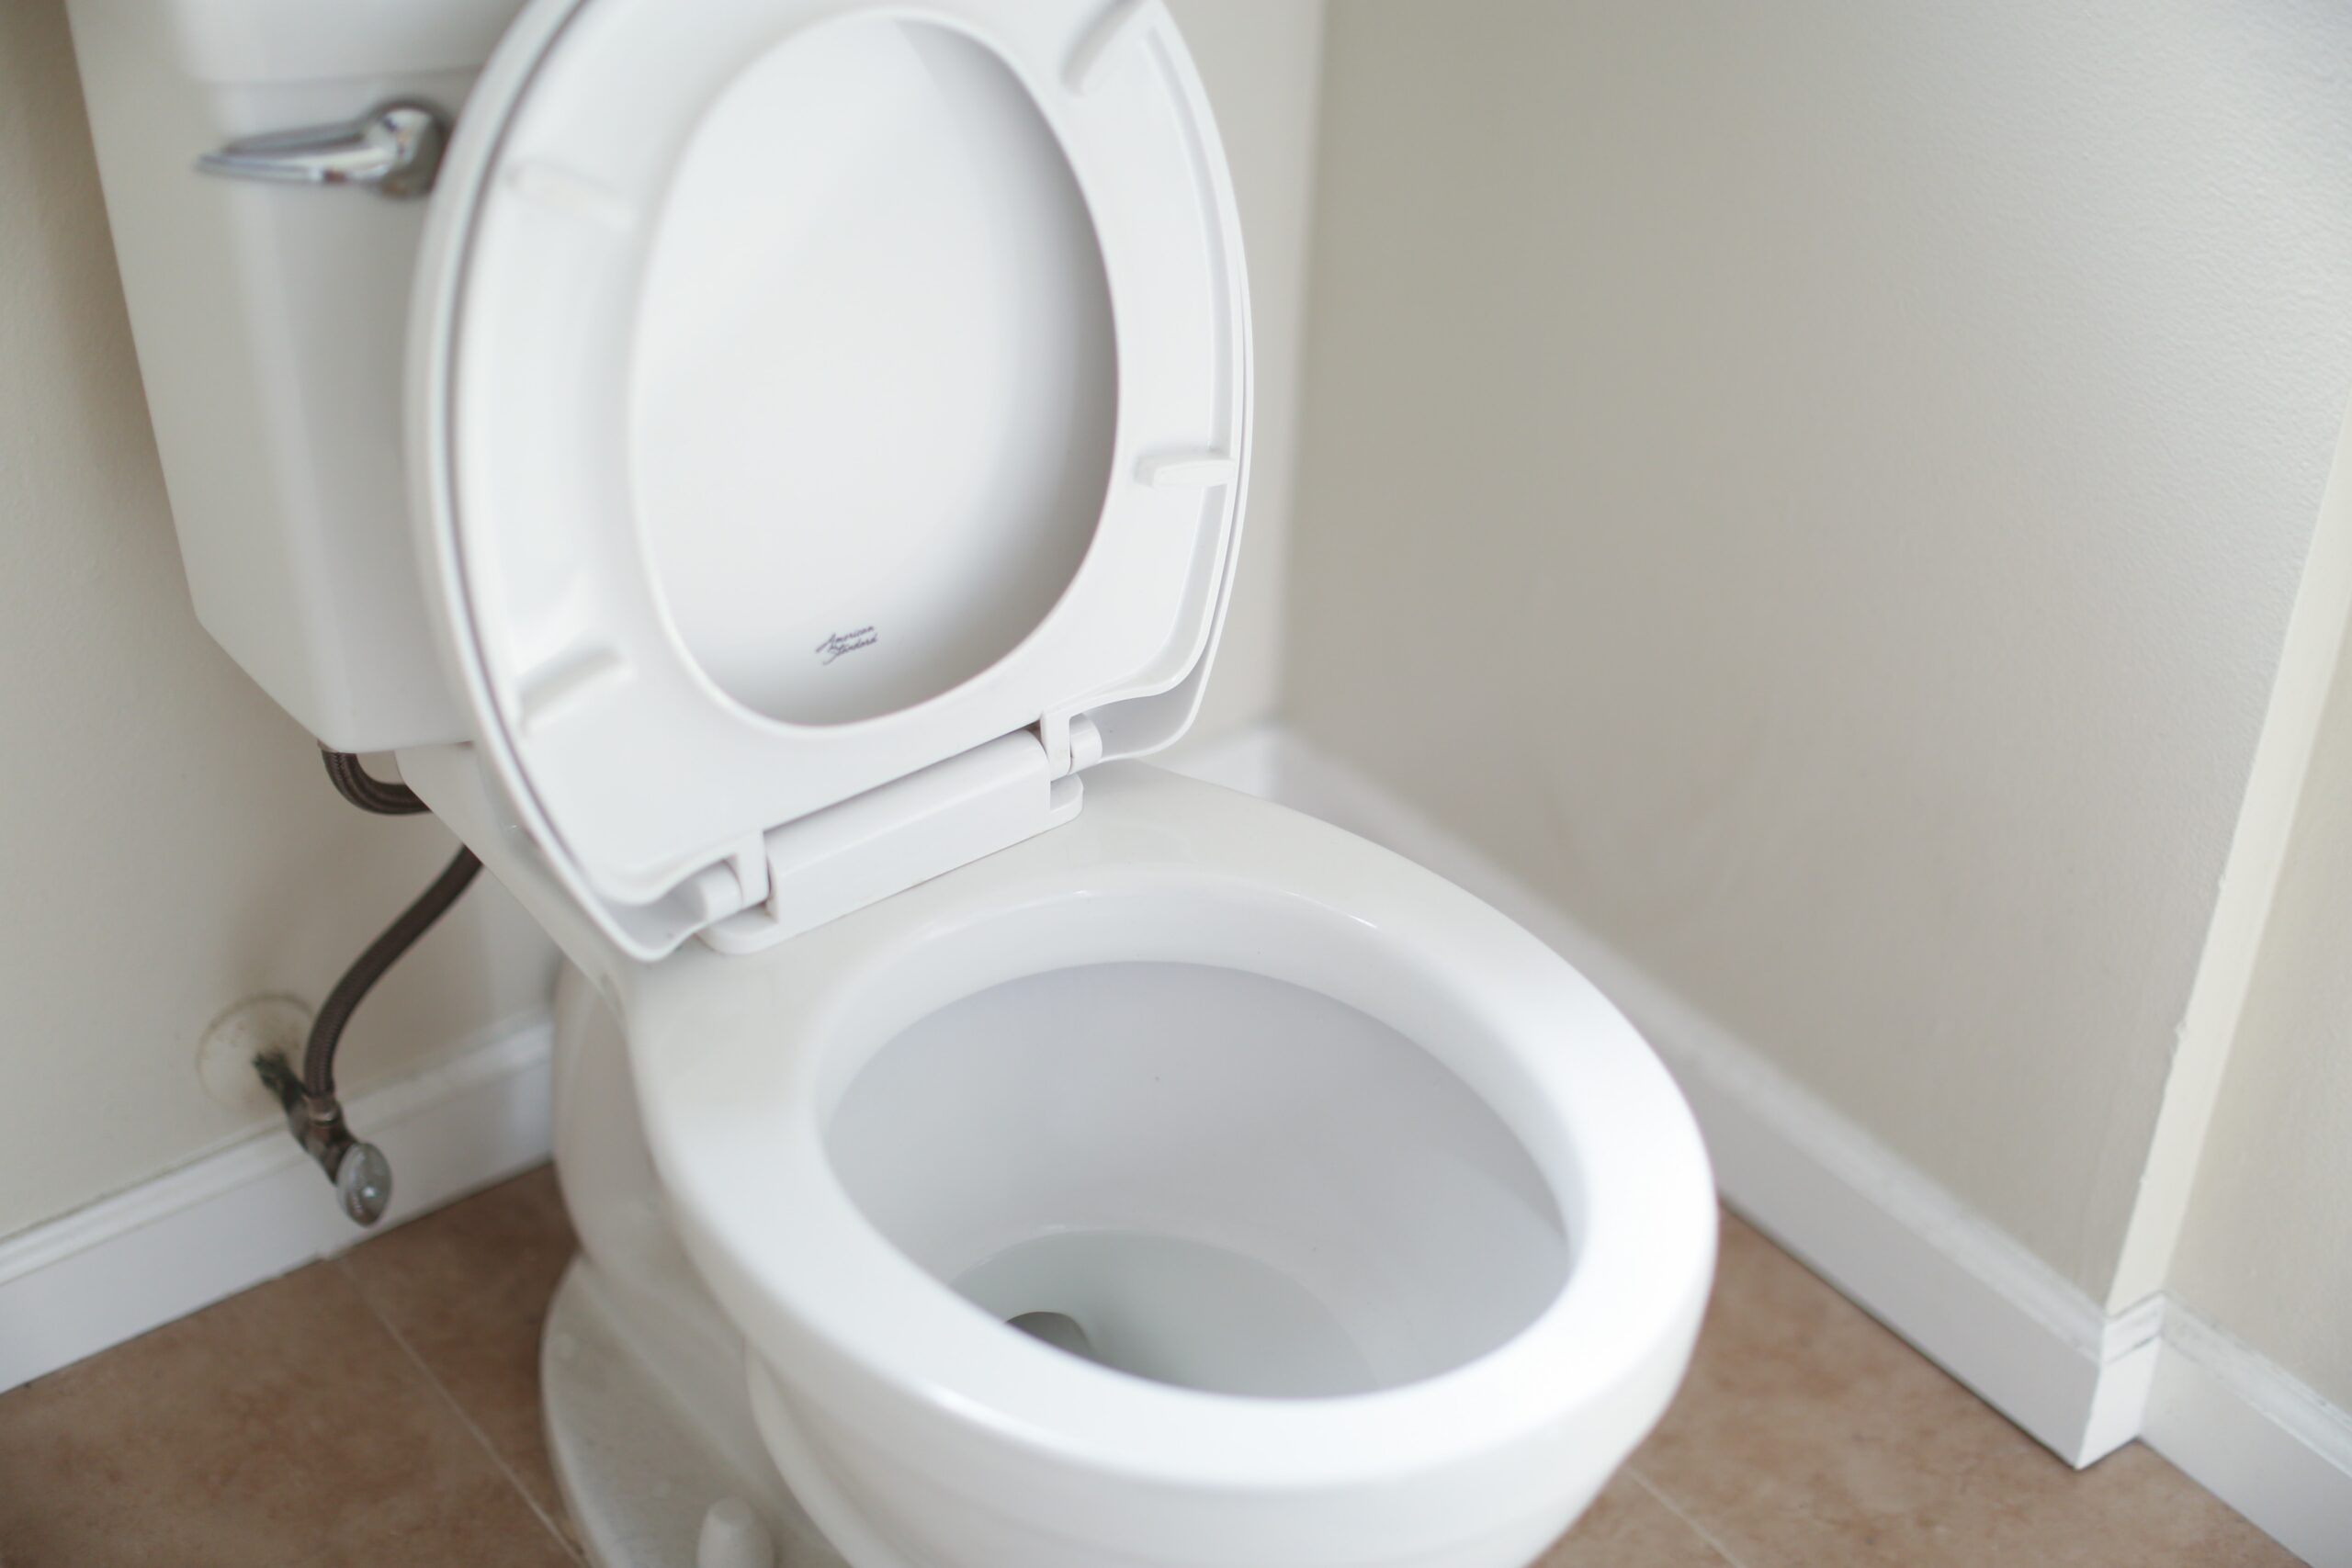
Your first task is to identify where the toilet cistern keeps leaking. If the leak is near the bowl or the tank centre, this could be a leak via the bolt gasket. Alternatively, if the leak is from the connection for the supply hose, it could be a stripped coupling problem or another type of poor-quality gasket.
Now I know why my cistern is leaking; how do I fix it?
If the damage isn’t severe, you can likely fix it with DIY expertise. If you have a cistern leaking water, follow these steps to discover and fix the issue as soon as possible.
What you will need
- Wrench
- New coupling rubber seal(s)
- Steel wool
- PTFE tape or plumber’s paste
- New bolt(s)
Step one: Turn off the water supply.
Turn off the water supply to the toilet via the valve. This is typically located on the wall behind the toilet or the floor beneath it. On the end of the valve should be a dial. Turn this clockwise until the supply stops.
Tip: Use a wrench if you struggle to turn the switch by hand.
Step two: Remove the top of the tank and inspect the coupling.
Take the top of the tank off the system and flush the toilet until the tank is empty. Then identify the coupling, usually connected to the supply line or cistern pipe, and loosen it. If the seal for this coupling is worn, common with long-term use, replace it with a seal with matching specifications.
Step three: Inspect the supply inlet threads.
If the threads are dirty, gently remove these deposits using steel wool to scrub away grime. If damaged, wrap these threads in plumber’s tape (aka PTFE tape) or cover them in plumber’s paste, then re-attach the coupling. During this inspection, check the setup as you go to ensure the tape is stable or if the threads need re-wrapping. If you find the leak is not coming from the coupling seal or other parts connected in this step, proceed to step four.
Step four: Dealing with the tank and components.
If prior steps did not fix the issue, there may be a problem with the tank itself. In this case, disconnect the supply line and, as in step two, loosen the coupling connecting the tank to the supply pipe. Then locate the underside of the tank and loosen the nuts with a wrench. Examine the bolts and seals for any damage. If so, this is a potential cause for the leak and will need to be replaced. After completing these repairs, put back the tank lid. Tighten the coupling and turn the water supply valve back on to test.
These are common issues that could be occurring with your tank. If you follow the steps and still find the toilet cistern keeps dripping, contact a plumber, as the issue could be more severe. This includes the possibility of a badly affected supply line, a leaking cistern pipe, or even an issue with the toilet.
What is a toilet cistern?
‘Toilet cistern’ is an industry term for the tank on the toilet, where the water and flushing system are. These can be:
- Concealed cisterns
- Standard cisterns
- Low-level cisters
Regardless of which is in your home, they play a key role as a container for your flushing mechanism.
Due to their importance for the toilet, you must fix the dripping cistern promptly. Additionally, water leaking from toilet cistern tanks for too long can risk ruin to the walls and floors. Not pleasant if you’re dealing with damp smells in future.

Want to find out more about bathroom repairs? You can check out our other help and advice for a variety of products and project guidance.

Was this guide useful?
Mentioned in this project guide:


